* Add url create/edit query paramter to clear cache

* Add refresh bookmark metadata button in create/edit bookmark page

* Fix refresh bookmark metadata when editing existing bookmark

* Add bulk refresh metadata functionality

* Fix test cases for bulk view dropdown selection list

* Allow bulk metadata refresh when background tasks are disabled

* Move load preview image call on refresh metadata

* Update bookmark modified time on metadata refresh

* Rename function to align with convention

* Add tests for refresh task

* Add tests for bookmarks service refresh metadata

* Add tests for bookmarks api disable cache on check

* Remove bulk refresh metadata when background tasks disabled

* Refactor refresh metadata task

* Remove unnecessary call

* Fix testing mock name

* Abstract clearing metadata cache

* Add test to check if load page is called twice when cache disabled

* Remove refresh button for new bookmarks

* Remove strict disable cache is true check

* Refactor refresh metadata form logic into its own function

* move button and highlight changes

* polish and update tests

---------

Co-authored-by: Sascha Ißbrücker <sascha.issbruecker@gmail.com>
Introduction
linkding is a bookmark manager that you can host yourself. It's designed be to be minimal, fast, and easy to set up using Docker.
The name comes from:
- link which is often used as a synonym for URLs and bookmarks in common language
- Ding which is German for thing
- ...so basically something for managing your links
Feature Overview:
- Clean UI optimized for readability
- Organize bookmarks with tags
- Bulk editing, Markdown notes, read it later functionality
- Share bookmarks with other users or guests
- Automatically provides titles, descriptions and icons of bookmarked websites
- Automatically archive websites, either as local HTML file or on Internet Archive
- Import and export bookmarks in Netscape HTML format
- Installable as a Progressive Web App (PWA)
- Extensions for Firefox and Chrome, as well as a bookmarklet
- SSO support via OIDC or authentication proxies
- REST API for developing 3rd party apps
- Admin panel for user self-service and raw data access
Demo: https://demo.linkding.link/
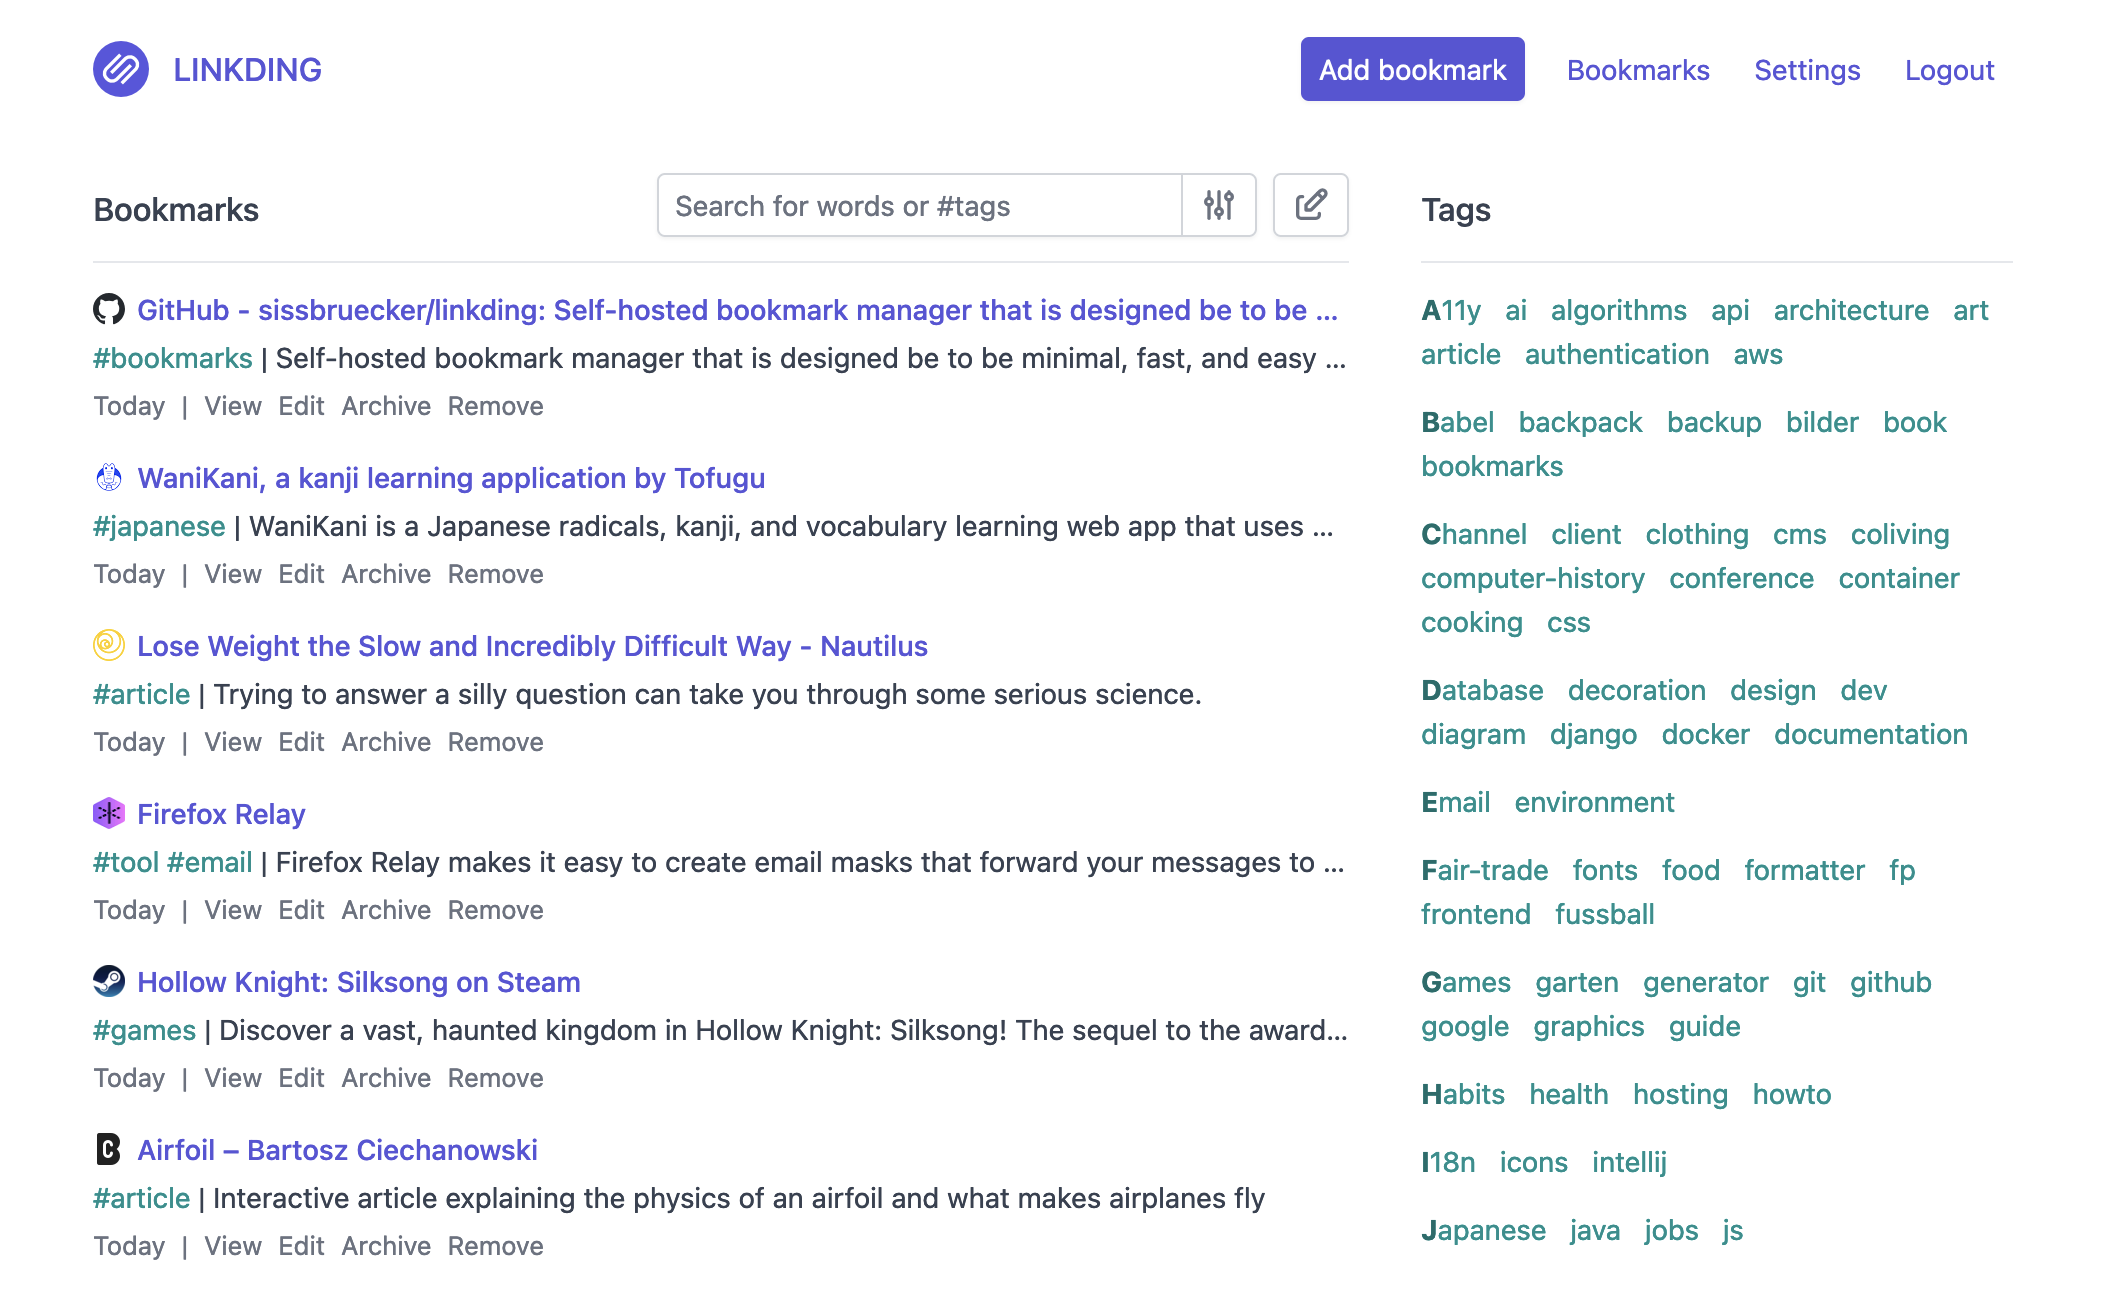
Screenshot:
Getting Started
The following links help you to get started with linkding:
- Install linkding on your own server or check managed hosting options
- Install the browser extension
- Check out community projects, which include mobile apps, browser extensions, libraries and more
Documentation
The full documentation is now available at linkding.link.
If you want to contribute to the documentation, you can find the source files in the docs folder.
If you want to contribute a community project, feel free to submit a PR.
Contributing
Small improvements, bugfixes and documentation improvements are always welcome. If you want to contribute a larger feature, consider opening an issue first to discuss it. I may choose to ignore PRs for features that don't align with the project's goals or that I don't want to maintain.
Development
The application is built using the Django web framework. You can get started by checking out the excellent Django docs. The bookmarks folder contains the actual bookmark application. Other than that the code should be self-explanatory / standard Django stuff 🙂.
Prerequisites
- Python 3.12
- Node.js
Setup
Create a virtual environment for the application (https://docs.python.org/3/tutorial/venv.html):
python3 -m venv ~/environments/linkding
Activate the environment for your shell:
source ~/environments/linkding/bin/activate[.csh|.fish]
Within the active environment install the application dependencies from the application folder:
pip3 install -r requirements.txt -r requirements.dev.txt
Install frontend dependencies:
npm install
Initialize database:
mkdir -p data
python3 manage.py migrate
Create a user for the frontend:
python3 manage.py createsuperuser --username=joe --email=joe@example.com
Start the Node.js development server (used for compiling JavaScript components like tag auto-completion) with:
npm run dev
Start the Django development server with:
python3 manage.py runserver
The frontend is now available under http://localhost:8000
Tests
Run all tests with pytest:
make test
Formatting
Format Python code with black, and JavaScript code with prettier:
make format
DevContainers
This repository also supports DevContainers:
Once checked out, only the following commands are required to get started:
Create a user for the frontend:
python3 manage.py createsuperuser --username=joe --email=joe@example.com
Start the Node.js development server (used for compiling JavaScript components like tag auto-completion) with:
npm run dev
Start the Django development server with:
python3 manage.py runserver
The frontend is now available under http://localhost:8000


